Moi
Run the node using Docker
Recommended Hardware Requirements
| SPEC | Recommend |
|---|---|
| CPU | 4 Cores (ARM64 or x86-64) |
| RAM | 16 GB (DDR4) |
| SSD | 512 GB |
| NETWORK | 500 Mbps |
Create Account
Create MOI ID
Step 1: Create MOI ID account from IOMe
-
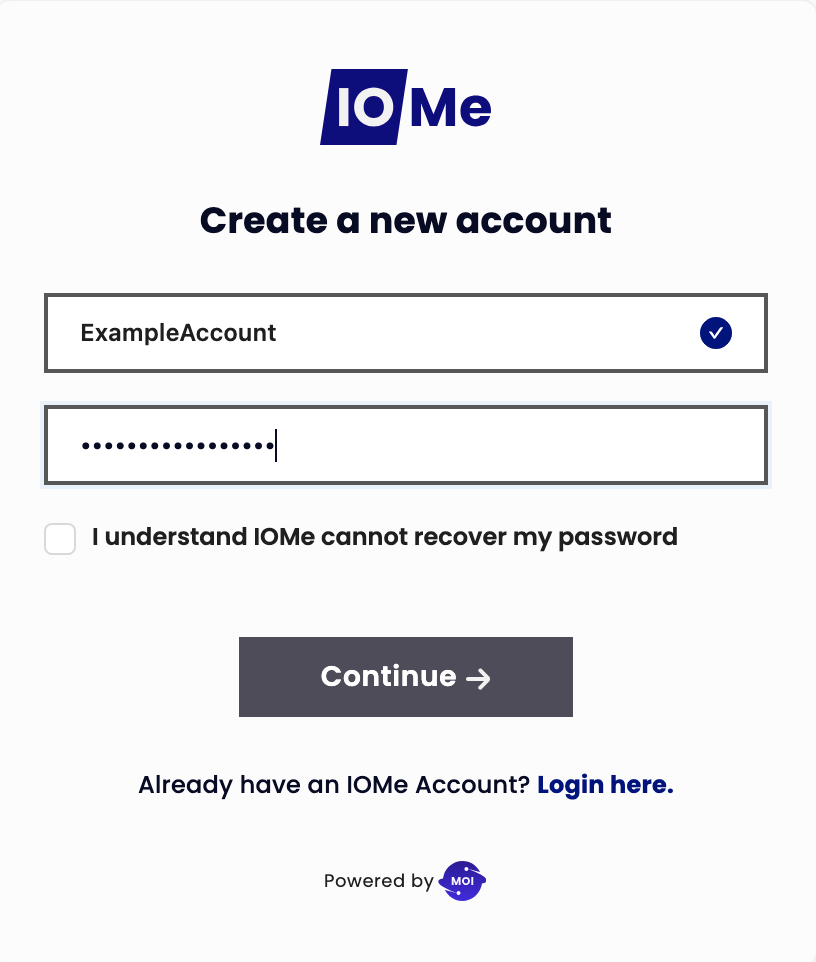
Visit IOMe Login Page, to create an account.
-
Fill
usernameandpassword. You will then be redirected to the sectionSecret recovery phrase.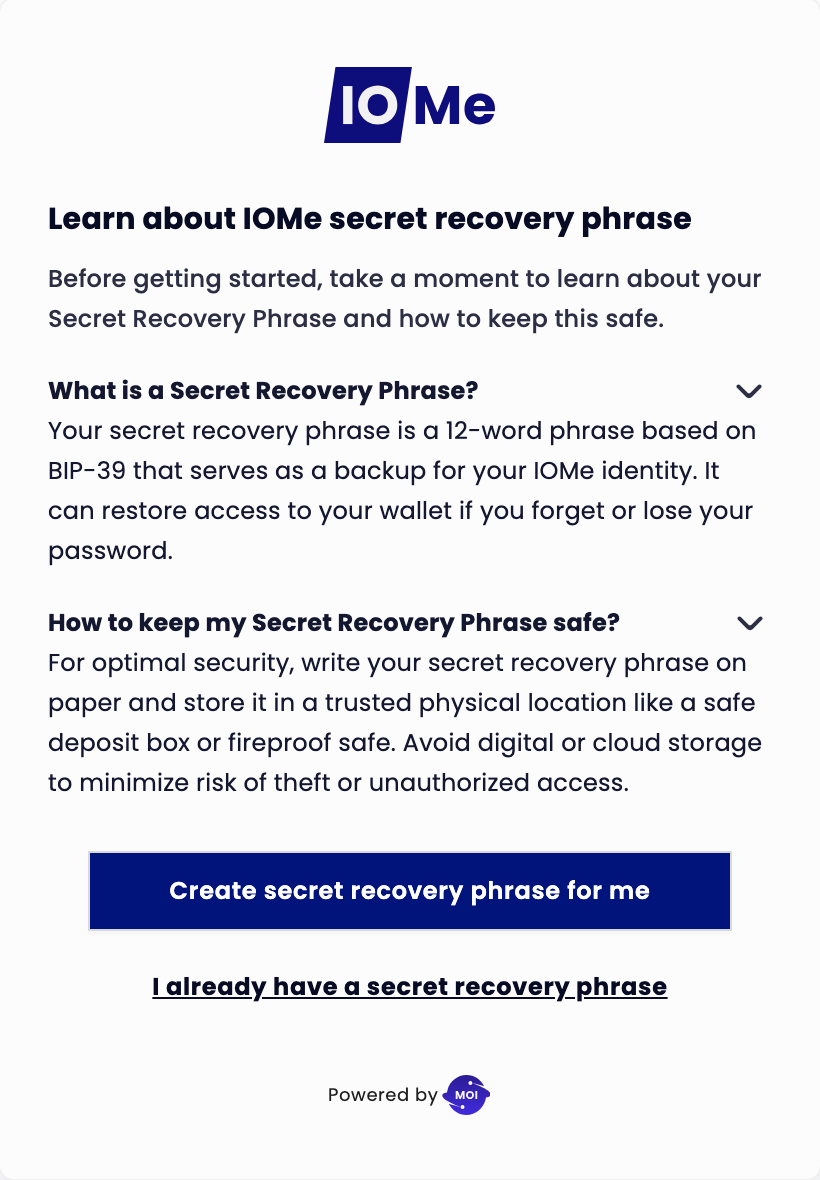
-
Select
Create secret recovery phrase for me, to create a secret phrase.
-
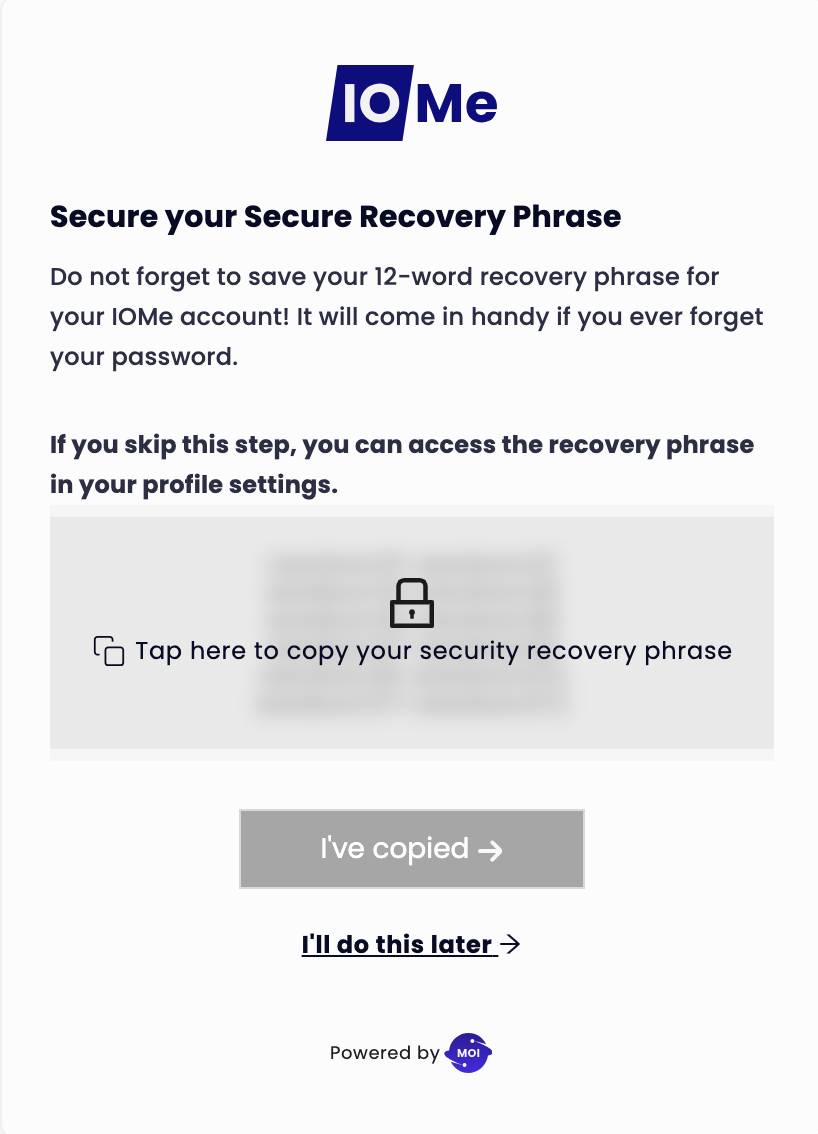
Once you've created your secret phrase, save it and select it
I've copiedto complete.
Step 2: KYC account MOI ID
-
Sign in to your account
IOMe Accountand proceedKYCaccording to the photo below.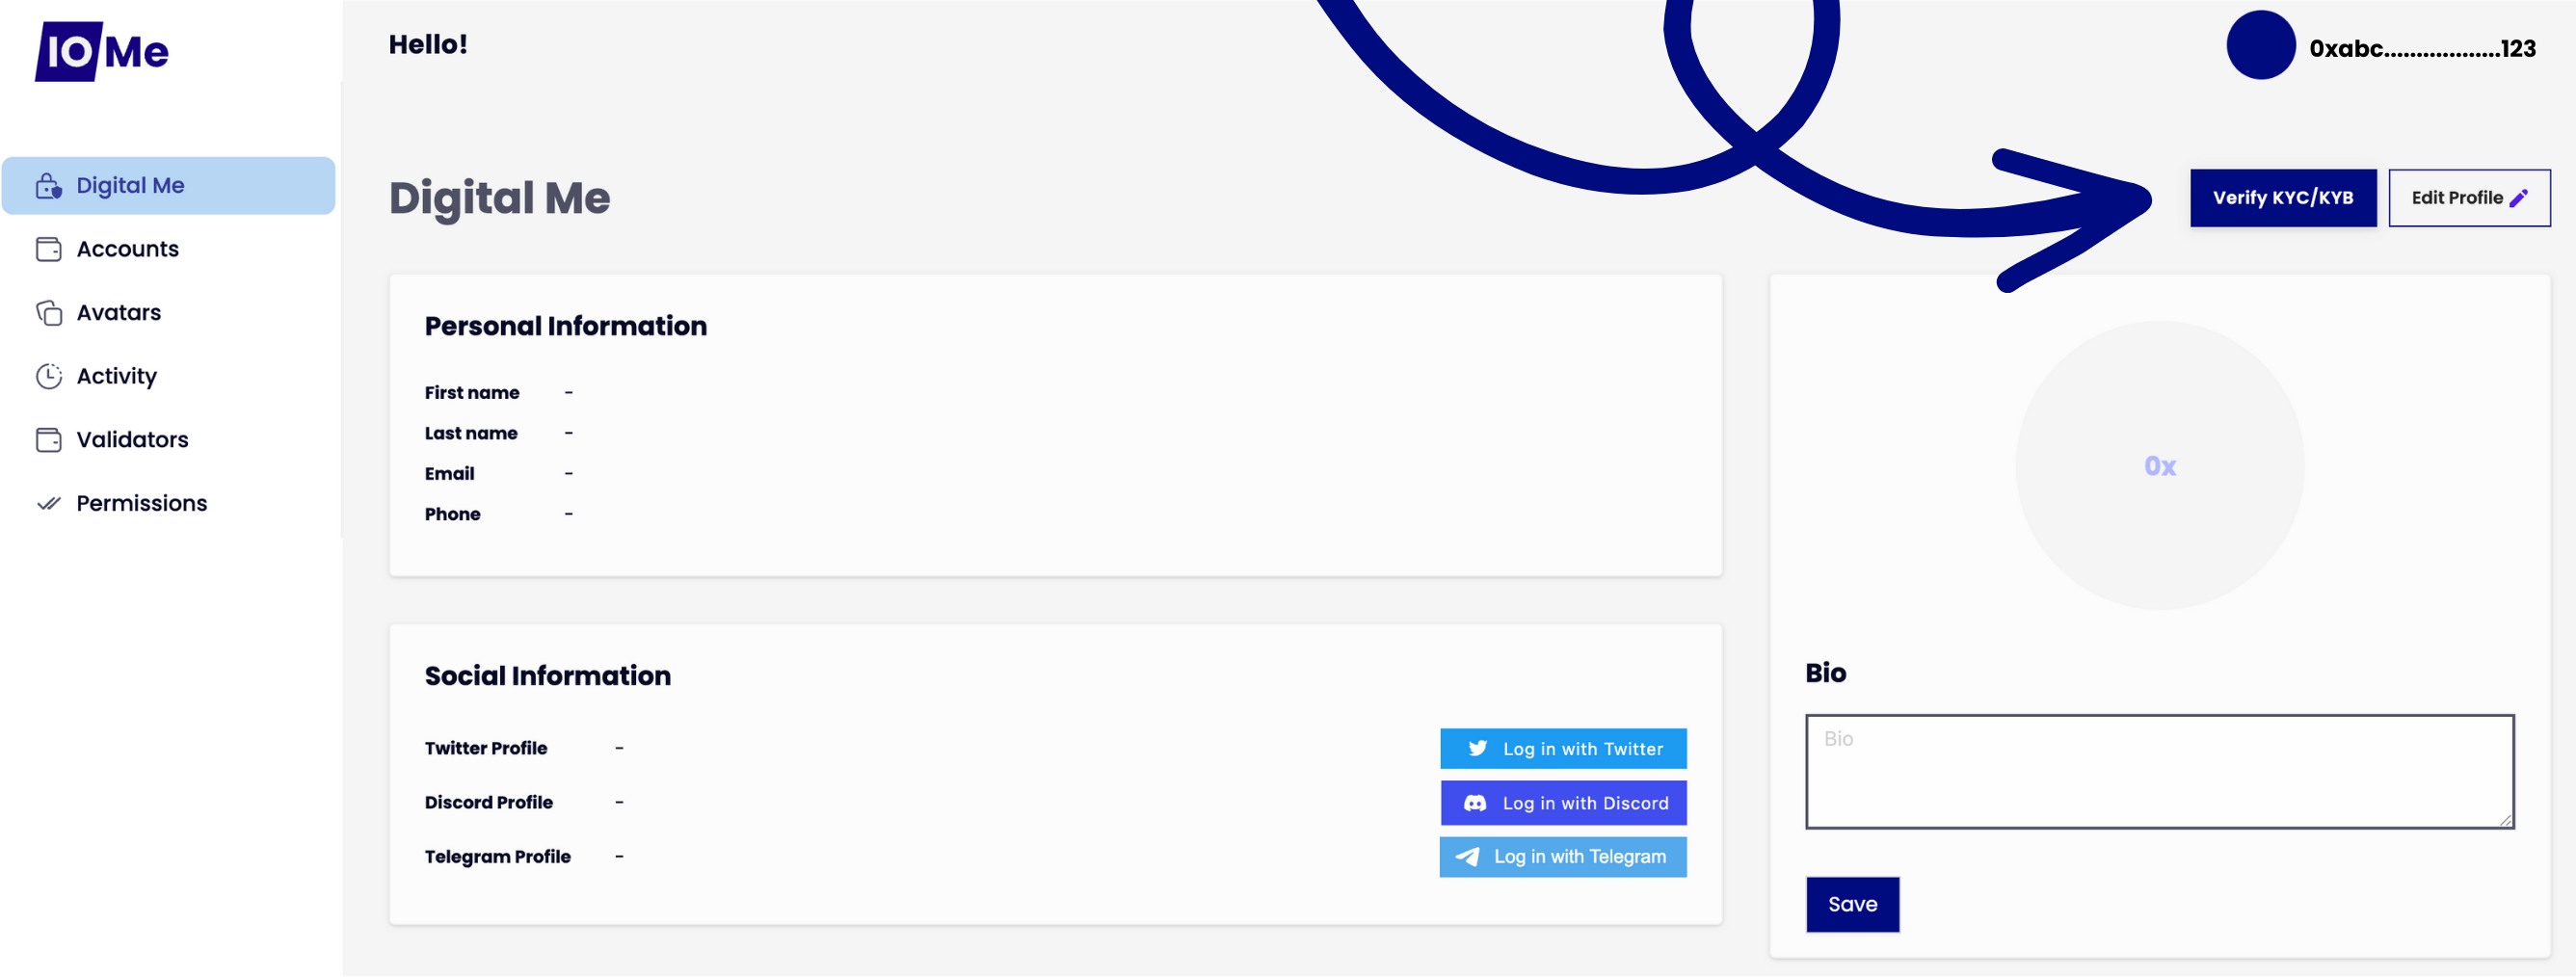
-
After completing the process
KYC, Verification may take some time. After verification, you can use this newly activated account to log in and use MOI Voyage.
Step 3: Create Krama ID on MOI Voyage
-
Visit MOI Voyage
-
Log in with your account
IOMe.
-
Select
Guardians.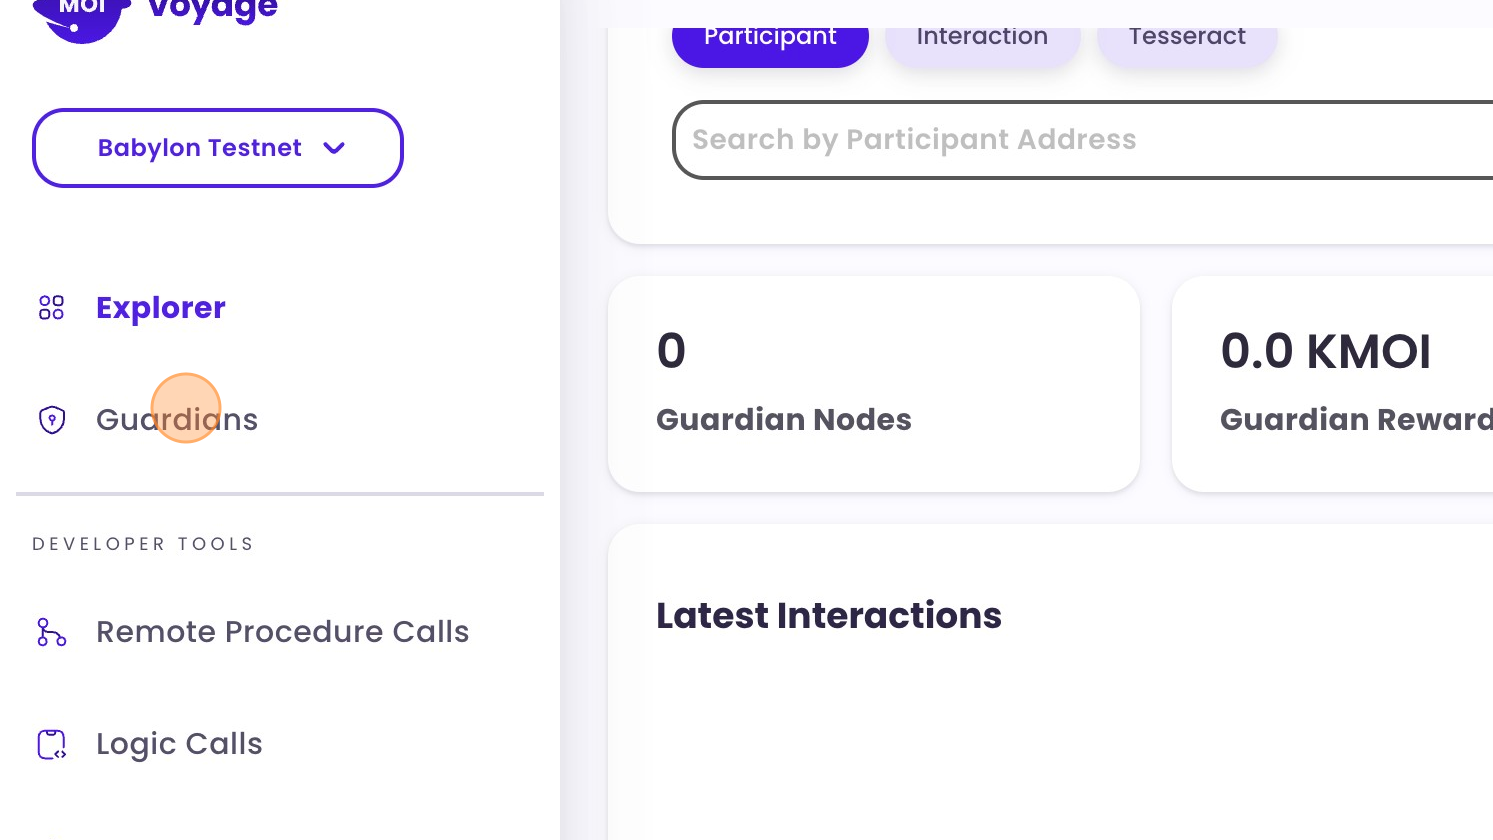
-
Select
Become a Guardian.


-
Visit Discord to ask for MOD Approved Krama ID.
-
Download
Keystore.
Option 1: Automatic
cd $HOME && mkdir moi && cd moi
- Download keystore.json --> $HOME/moi/keystore.json
cd $HOME && source <(curl -s https://raw.githubusercontent.com/vnbnode/binaries/main/Projects/MOI/moi-auto.sh)
Option 2: Manual
Install Docker
sudo apt update && sudo apt upgrade -y
sudo apt-get update
sudo apt-get install \
ca-certificates \
curl \
gnupg
sudo install -m 0755 -d /etc/apt/keyrings
curl -fsSL https://download.docker.com/linux/ubuntu/gpg | sudo gpg --dearmor -o /etc/apt/keyrings/docker.gpg
sudo chmod a+r /etc/apt/keyrings/docker.gpg
echo \
"deb [arch="$(dpkg --print-architecture)" signed-by=/etc/apt/keyrings/docker.gpg] https://download.docker.com/linux/ubuntu \
"$(. /etc/os-release && echo "$VERSION_CODENAME")" stable" | \
sudo tee /etc/apt/sources.list.d/docker.list > /dev/null
sudo apt-get update
sudo apt-get install docker-ce docker-ce-cli containerd.io docker-buildx-plugin docker-compose-plugin
Open Port
| Transport | Port | Reachability | Purpose |
|---|---|---|---|
| TCP/UDP | 6000 | Inbound/Outbound | Protocol P2P Interface |
| TCP | 1600 | Inbound | JSON RPC Interface |
Register the Guardian Node
1. CPU from 2015 or later
sudo docker run --network host --rm -it -w /data -v $(pwd):/data sarvalabs/moipod:latest register --data-dir {DIRPATH} --mnemonic-keystore-path {KEYSTORE_PATH} --mnemonic-keystore-password {MNEMONIC_KEYSTORE_PASSWORD} --watchdog-url https://babylon-watchdog.moi.technology/add --node-password {NODE_PWD} --network-rpc-url https://voyage-rpc.moi.technology/babylon --wallet-address {ADDRESS} --node-index {NODE_IDX} --local-rpc-url http://{IP_or_Domain}:1600
2. CPU from 2015 or earlier
sudo docker run --network host --rm -it -w /data -v $(pwd):/data sarvalabs/moipod:v0.8.1-port register --data-dir {DIRPATH} --mnemonic-keystore-path {KEYSTORE_PATH} --mnemonic-keystore-password {MNEMONIC_KEYSTORE_PASSWORD} --watchdog-url https://babylon-watchdog.moi.technology/add --node-password {NODE_PWD} --network-rpc-url https://voyage-rpc.moi.technology/babylon --wallet-address {ADDRESS} --node-index {NODE_IDX} --local-rpc-url http://{IP_or_Domain}:1600
{DIRPATH}: the directory path you create to store the node, for example moi
{KEYSTORE_PATH}: The keystore file path that you downloaded when creating Krama ID, for example if you put the keystore in the new folder, the path will be moi/keystore.json
{MNEMONIC_KEYSTORE_PASSWORD}: password when you fill in to download the keystore.json file
{NODE_PWD}: password when you fill in to download the keystore.json file
{ADDRESS}: Get your wallet address here MOI Voyage
{NODE_IDX}: If you want to launch Krama ID, enter that number
{IP_or_Domain}: This is the WAN IP address to connect to the outside, can be replaced with the ddns address. Encourage use of the service NoIP.
Start the Guardian Node
1. CPU from 2015 or later
sudo docker run --network host -it -d -w /data -v $(pwd):/data sarvalabs/moipod:latest server --babylon --data-dir {DIRPATH} --log-level DEBUG --node-password {NODE_PWD} --clean-db=true
2. CPU from 2015 or earlier
sudo docker run --network host -it -d -w /data -v $(pwd):/data sarvalabs/moipod:v0.8.1-port server --babylon --data-dir {DIRPATH} --log-level DEBUG --node-password {NODE_PWD} --clean-db=true
{DIRPATH}: the directory path you create to store the node, for example moi
{NODE_PWD}: password when you fill in to download the keystore.json file
Check Status Node
- If Status displays the status:
Up xx minutesis the node that has run successfully. - If Status displays the status:
ExitedERROR.
| Container ID | Image | Command | Created | Status | Ports | Names |
|---|---|---|---|---|---|---|
| f00f11223344 | my-image | "/bin/bash" | 10 minutes ago | Up 10 minutes | my-container |